Classic Apple Crisp Recipe Outline
When it comes to classic desserts, few can rival the warm, comforting appeal of a classic apple crisp. Perfectly baked apples topped with a crunchy oat topping make for a humble yet delicious treat. Whether you’re looking to impress at your next dinner party or simply craving a cozy dessert at home, this recipe is both straightforward and satisfying. Below is an outline of how to craft your very own classic apple crisp.
Ingredients You’ll Need for Your Classic Apple Crisp
Gathering the right ingredients sets the stage for your delicious apple crisp. Here’s what you’ll need:
-
For the Filling:
-
6 to 8 cups of thinly sliced apples (Granny Smith or Honeycrisp work well)
-
1 cup granulated sugar (or adjust based on apple sweetness)
-
1 tablespoon lemon juice
-
1 teaspoon cinnamon
-
1/4 teaspoon nutmeg (optional)
-
For the Crisp Topping:
-
1 cup rolled oats
-
1 cup all-purpose flour
-
1 cup brown sugar
-
1/2 cup unsalted butter, melted (or coconut oil for a dairy-free option)
-
1/2 teaspoon salt
Preparing the Apples
To maximize flavor, choose a variety of apples. Did you know that combining sweet and tart apples enhances the overall taste of your crisp? How about mixing Granny Smith and Honeycrisp?
- Start by peeling, coring, and slicing your chosen apples. A tip from cooking experts suggests letting your apples sit with lemon juice for a few minutes to enhance their freshness and prevent browning.
- In a large mixing bowl, combine the sliced apples with sugar, cinnamon, and nutmeg. Let this mixture sit while you prepare the topping.
Crafting the Crunchy Topping
The topping is what makes a classic apple crisp recipe stand out. It’s that perfect blend of crunchy and chewy!
- In another bowl, mix together the rolled oats, flour, brown sugar, and salt.
- Pour in the melted butter and stir until all ingredients are well combined. The aim is to achieve a crumbly texture that will create an exciting contrast against the soft apples.
Assembling Your Apple Crisp
Time to bring all those delicious components together!
- Preheat your oven to 350°F (175°C).
- Grease your baking dish with a little butter or cooking spray. A 9×13 inch dish works wonderfully, but don’t be afraid to use smaller ones for individual servings.
- Pour the apple mixture into the prepared dish, spreading it evenly across the bottom.
- Sprinkle the oat topping generously over the apple layer. Make sure to cover the apples thoroughly for an even bake.
Baking and Serving
Now the magic happens! Place your dish in the preheated oven and bake it until the apple filling is bubbly and the topping is golden brown, usually about 40-45 minutes.
- Insider Tip: For an extra layer of flavor, top your warm crisp with a scoop of vanilla ice cream or a dollop of whipped cream just before serving.
Enjoying Your Classic Apple Crisp
There’s something incredibly satisfying about serving dessert straight from the oven, the sweet aroma wafting through your kitchen. Picture yourself gathered around the table with friends or family, sharing slices of warm apple crisp while laughter fills the air.
This classic apple crisp recipe not only nourishes the body but also nourishes the soul, creating memories that last long after the last bite.
Next Steps
Take the plunge and make this classic apple crisp to impress your friends or simply to enjoy a quiet evening in. If you’re looking for more dessert ideas, check out Epicurious for additional recipes that can easily complement your apple crisp. Enjoy the journey to creating this comforting dish, and happy baking!
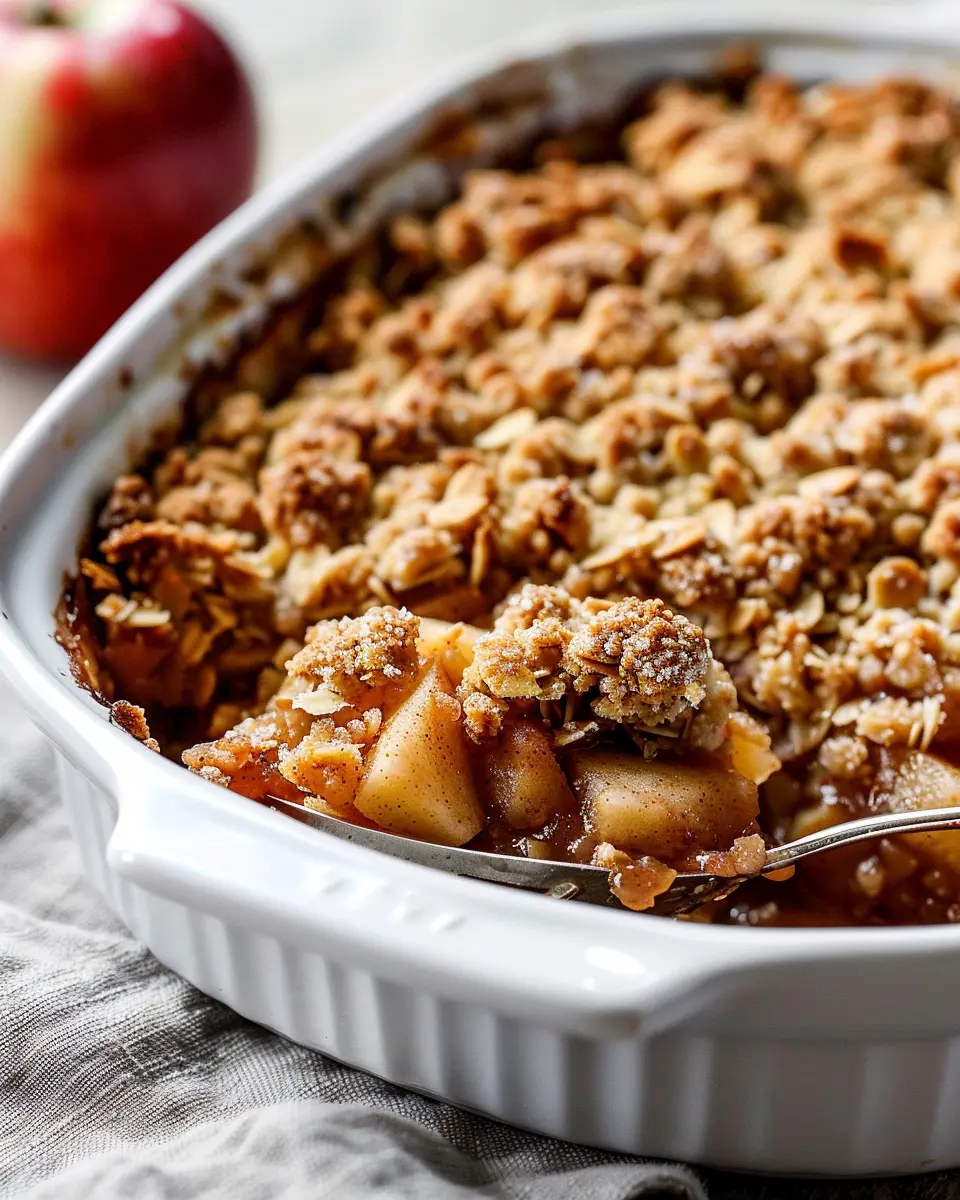
Introduction to Classic Apple Crisp
Apple crisp has a special place in the hearts—and stomachs—of dessert lovers everywhere. This delightful dish combines the warm sweetness of baked apples with a crunchy, buttery topping, creating the perfect balance of flavors and textures. Not only is it delicious, but it’s also simple to make, which is why this classic apple crisp recipe has been passed down through generations in many families.
Why Apple Crisp is a Timeless Dessert
One reason apple crisp remains a beloved choice is its versatility. It’s the quintessential fall dessert but can be enjoyed year-round, especially when apples are in season. You can take a traditional approach with Granny Smith or Honeycrisp apples, or even mix in some berries for a fruity twist.
The simplicity of the ingredients—apples, sugar, oats, and butter—means that it doesn’t require a master chef’s skills to whip up. It’s a great way to use up any extra apples you might have lying around. Did you know that apple consumption in the United States averages around 50 pounds per person per year? That’s a lot of apples! Make sure to check out sources like the United States Department of Agriculture for more apple-related fun facts.
Beyond its flavor and ease of preparation, apple crisp also evokes nostalgia for many. Whether it was a treat after dinner with family or a specialty made by a beloved grandparent, these memories make it more than just a dessert. It carries warmth and comfort.
So, gather your ingredients, preheat that oven, and prepare for the delightful aroma of cinnamon and baked apples filling your kitchen. Plus, serving it warm with a scoop of vanilla ice cream takes it to a whole new level. It’s not just food; it’s an experience.
In our upcoming sections, we’ll break down the easy steps for making this classic apple crisp recipe, ensuring you can recreate those cherished moments in your own home. You’ll see that with just a little effort, you can impress your friends and family with a dessert that feels both timeless and personal.
Ingredients for Classic Apple Crisp
Creating a delightful classic apple crisp recipe is all about selecting the right ingredients. This dessert captures the essence of fall with its warm, comforting flavors. Let’s break down what you’ll need!
Filling Ingredients
For the filling, you’ll want to evoke a juicy, sweet-tart flavor. Here are your essentials:
- Apples: About 6 cups of your favorite tart apples like Granny Smith or Honeycrisp, peeled and sliced.
- Sugar: ½ cup of granulated sugar to sweeten the apples just right.
- Cinnamon: 1 teaspoon of ground cinnamon to add warmth and spice.
- Lemon Juice: 1 tablespoon to brighten the flavors and prevent browning.
Topping Ingredients
Now, let’s make the crunchy topping that brings it all together:
- Oats: 1 cup of old-fashioned oats for texture.
- Brown Sugar: ½ cup packed for that deep molasses flavor.
- Flour: ½ cup all-purpose flour, which gives body to the topping.
- Butter: ¾ cup of cold, unsalted butter, cut into cubes for richness.
- Salt: A pinch to enhance all the flavors.
With these ingredients on hand, you’re just a few steps away from indulging in a warm serving of classic apple crisp. Enjoy the process and check out more tips on apples to elevate your dessert game!
Preparing Classic Apple Crisp
Creating the perfect classic apple crisp is a delightful culinary journey, but don’t worry, it’s simpler than you might think! Follow these approachable steps, and you’ll soon be savoring the warm, comforting flavors of this timeless dessert.
Preheat the Oven
First things first, let’s get that oven warmed up! Preheating it to 350°F (175°C) ensures that your apple crisp bakes evenly and achieves that golden brown topping we all crave. So, before you start prepping the ingredients, take a moment to let your oven do its thing. Setting a timer for the preheat can help you stay on track.
Prepare the Filling
Now onto the star of the show—the filling! Selecting the right apples is crucial. Aim for a mix of sweet and tart varieties, such as Granny Smith and Honeycrisp, to create a balanced flavor profile. Here’s how to prepare your apple filling:
- Ingredients:
- 6 to 8 medium-sized apples, peeled, cored, and sliced
- 1/2 cup of granulated sugar
- 1 tablespoon of lemon juice
- 1 teaspoon of cinnamon
- A pinch of salt
- In a large bowl, combine the sliced apples with lemon juice, sugar, cinnamon, and salt. The lemon juice will keep the apples from browning and add a lovely brightness.
- Toss everything together until the apples are well-coated in the mixture. Let it sit for about 10 minutes, allowing the flavors to meld.
You can find more tips on choosing the best apples for baking here.
Whip Up the Topping
While your apples are marinating, it’s time to create that irresistible topping for your classic apple crisp recipe. Here’s how to make it:
- Ingredients:
- 1 cup of rolled oats
- 1 cup of all-purpose flour
- 1/2 cup of brown sugar, packed
- 1 teaspoon of cinnamon
- 1/2 cup of cold butter, cut into small cubes
- In a mixing bowl, combine oats, flour, brown sugar, and cinnamon.
- Add the cold butter cubes and use your fingertips or a pastry cutter to blend until the mixture resembles coarse crumbs. It’s like a mini workout, and trust me, your arms will thank you later!
Assemble the Dish
Next, let’s layer everything in a baking dish.
- Spread the apple filling evenly across a greased 9×13-inch baking dish. Make sure to include all those lovely juices that have formed.
- Now, sprinkle the topping generously over the apple mixture. Don’t be shy—more crumbly goodness means more satisfying bites!
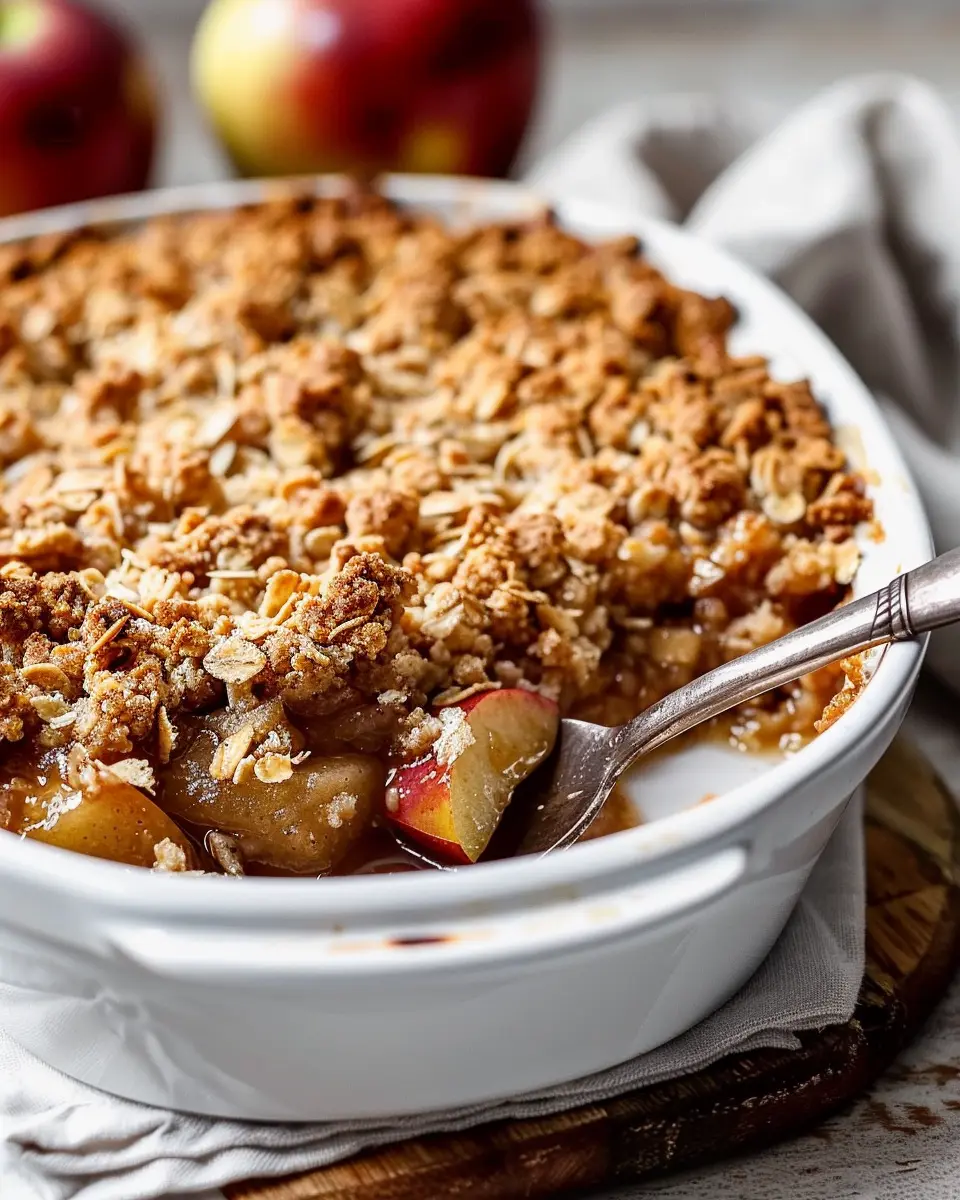
Bake to Perfection
Finally, it’s time to bake!
- Place your assembled apple crisp in the preheated oven and allow it to bake for about 35-40 minutes, or until the filling is bubbling and the topping is beautifully golden brown.
- If you notice the topping is browning too quickly, you can cover the dish loosely with foil for the last 10 minutes of baking.
When your classic apple crisp is out of the oven, resist the urge to dig in right away. Let it cool for about 10-15 minutes. This will give the juices a chance to thicken, resulting in a more manageable and delicious dish.
Serve warm with a scoop of vanilla ice cream or a dollop of whipped cream. Trust me, it’ll be an unforgettable dessert that’ll have your friends and family asking for seconds! Enjoy your baking adventure!
Variations on Classic Apple Crisp
Apple crisp is a wonderfully versatile dessert that can easily be tweaked to suit your taste. Let’s explore some exciting variations that can enhance your classic apple crisp recipe without losing its beloved charm.
Nutty Apple Crisp
If you’re a fan of the crunch that nuts can add, consider mixing in some chopped walnuts or pecans into your topping. The nutty flavor pairs beautifully with the sweetness of the apples. You can even toast the nuts beforehand for an extra layer of flavor! Here’s a quick tip: use about 1 cup of nuts and reduce the oats in your topping slightly to maintain that delightful crunch.
Spiced Apple Crisp
For those who love a bit of warmth in their desserts, adding spices like cinnamon, nutmeg, or even a touch of cardamom can elevate your apple crisp to new heights. Sprinkle 1-2 teaspoons of your favorite spices into the apple mixture before topping it with the crumble. Trust me, your taste buds will feel a little cozy just reading that!
Gluten-Free Apple Crisp
Need a gluten-free option? No problem! Simply substitute regular oats with gluten-free oats and use almond or coconut flour instead of all-purpose flour in your topping. You can even sweeten the dish with maple syrup or honey for a wholesome twist. This variation ensures that everyone can enjoy a slice of happiness!
By experimenting with flavors and textures, you’ll discover new favorites while honoring the traditional classic apple crisp recipe. For more in-depth recipes, check out resources like EatingWell or Bon Appétit for expert tips and inspiration.
Cooking Tips and Notes for Classic Apple Crisp
Best Apples for Baking
When it comes to selecting the perfect apples for your classic apple crisp recipe, go for varieties that balance sweetness and tartness. Some of the best options include:
- Granny Smith: Tart and firm, great for contrast.
- Honeycrisp: Sweet with a satisfying crunch.
- Braeburn: Offers a hint of spice alongside its sweetness.
These apples hold their shape well during baking, ensuring you get that delightful texture in every bite. For a deeper dive on apple varieties, consider visiting The Apple Barn.
Make-Ahead Options
Want to save time on busy days? Prepping your classic apple crisp in advance can be a lifesaver! You can slice the apples and toss them with lemon juice to prevent browning. Storing them in the fridge means you can assemble the crisp in a jiffy when you’re ready to bake.
Alternatively, prepare the topping and store it separately. This way, you can simply sprinkle it over the apples and bake whenever the craving strikes. It’s like having dessert on speed dial—an easy weeknight treat!
By considering these tips, you’ll not only enjoy a delicious dessert but also make the cooking process more enjoyable and seamless.
Serving Suggestions for Classic Apple Crisp
A La Mode Delight
Nothing elevates your classic apple crisp recipe quite like a scoop of vanilla ice cream on top. The warm, spiced apples paired with the creamy, rich ice cream create a delightful contrast that’s hard to resist. If you want to mix things up, consider using caramel or cinnamon ice cream for an extra flavor boost. You can also top it off with a drizzle of homemade caramel sauce for a truly indulgent experience.
Pairing with Sauces
For those who enjoy a little saucy adventure, try serving your apple crisp with a drizzle of warm caramel or rich butterscotch sauce. This addition not only enhances the flavor but also gives a beautiful aesthetic when plated. If you’re feeling extra fancy, a dollop of freshly whipped cream or Greek yogurt can add a lovely tanginess that balances the sweetness perfectly.
These serving suggestions will not only complement your dish but also leave your guests raving about their experience! For more inspiration, check out related articles on dessert pairings at The Kitchn or Serious Eats.
Time Breakdown for Classic Apple Crisp
Preparation Time
Getting ready for your classic apple crisp recipe is a breeze—it should only take you about 15 to 20 minutes. This is the time when you’ll be washing, peeling, and slicing your apples, as well as mixing together the delicious topping. Having all your ingredients measured and prepped will make this part smooth and enjoyable!
Cooking Time
Once your classic apple crisp is assembled, pop it in the oven for 30 to 40 minutes. You’ll want to keep an eye on it as it bakes to ensure that the topping turns that satisfying golden-brown color while the apples become tender and bubbly.
Total Time
In total, you’re looking at around 45 to 60 minutes from start to finish. That includes both preparation and cooking time! It’s an excellent return on your effort, yielding a warm, comforting dessert perfect for any occasion. For tips on serving suggestions and variations, you might also check out Serious Eats, which has a fantastic collection of apple dessert recipes.
Nutritional Facts for Classic Apple Crisp
Caloric Content
When diving into the delicious world of a classic apple crisp recipe, it’s essential to be aware of its caloric content. A typical serving of apple crisp can range from 180 to 300 calories, depending on portion size and the ingredients used. The buttery oats and sugar add richness, so moderation is key if you’re keeping an eye on your calorie intake.
Sugar and Fiber
Another important consideration is the sugar and fiber content in this dessert. A homemade apple crisp usually contains around 20-30 grams of sugar per serving, primarily from the apples and added sweeteners. On the flip side, the oats contribute a good amount of dietary fiber, averaging about 3-5 grams. This balance can help you feel satisfied while enjoying a sweet treat. Interested in ways to make this dish healthier? Consider swapping some sugar for natural sweeteners like maple syrup or honey—both of which complement the flavors beautifully.
For further insights on nutritional balances in desserts, you might want to check out the USDA’s nutrition database. It’s a fantastic resource for understanding what’s in your food!
FAQs about Classic Apple Crisp
Can I use different fruits in apple crisp?
Absolutely! While this classic apple crisp recipe is traditionally made with apples, you have the flexibility to mix things up. Pears, berries, or even stone fruits like peaches or plums can make delightful alternatives. Just remember to adjust the sugar based on the sweetness of your chosen fruit. Tart fruits can pair beautifully with sweeter options, creating a balance that keeps your dessert exciting.
How can I store leftover apple crisp?
If you find yourself with leftovers (which is often not the case), storing your apple crisp properly can help maintain its deliciousness. Allow it to cool completely, then cover it with foil or plastic wrap. You can keep it in the refrigerator for up to four days. For longer storage, consider freezing it. Just portion it out into airtight containers or wrap it tightly with freezer-friendly foil. It should stay fresh for about three months. When you’re ready to enjoy it again, a quick reheating in the oven or microwave can bring back that fresh-baked charm.
What’s the difference between apple crisp and apple crumble?
While they may appear similar at first glance, there’s a subtle yet important difference. Both feature a delicious fruity filling; however, a classic apple crisp recipe typically includes oats in the topping, which adds a lovely crunch and texture. On the other hand, apple crumble is usually just a buttery flour mixture without oats, resulting in a different consistency. Both are equally delicious, so the choice really comes down to personal preference!
For more insights into dessert options, check out this article on seasonal fruits or delve into the world of baking techniques.
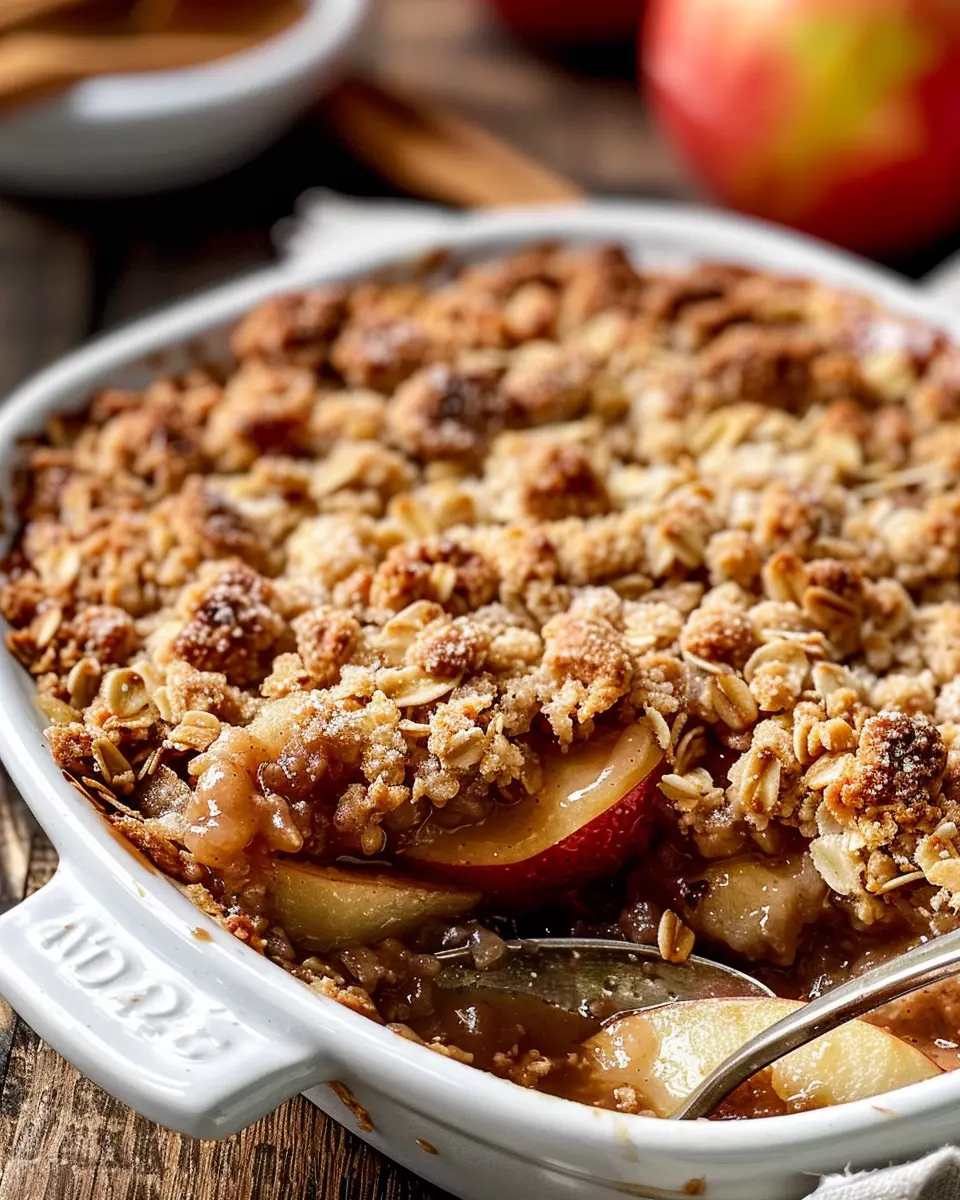
Conclusion on Classic Apple Crisp
Embracing Homemade Happiness
Wrapping up our journey with this classic apple crisp recipe, it’s clear that homemade delights are unbeatable. Picture sinking your spoon into warm, spiced apples, topped with a crunchy, buttery oat mixture—pure joy!
Making this dish can be a cherished experience. Whether you’re hosting friends or enjoying a quiet evening at home, the scent of baking apples transforms your space into a cozy haven.
And don’t forget, having your own recipe means you can experiment. Why not try adding some nuts or a drizzle of caramel next time? Embrace that creativity! For more recipe inspiration, visit Serious Eats or Bon Appétit for all things delicious.
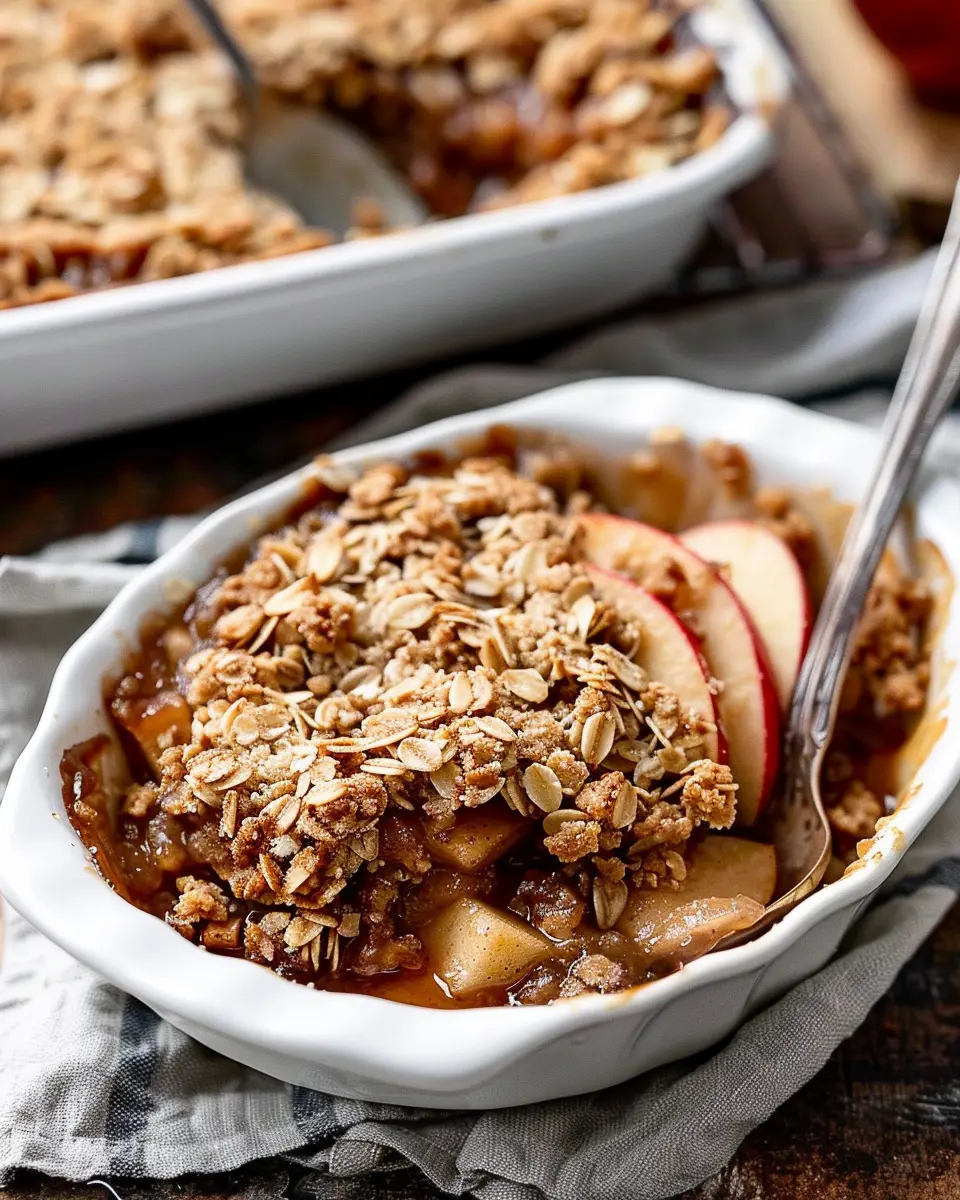
PrintClassic Apple Crisp Recipe: The Best Comfort Food You’ll Love

Indulge in the warm, gooey goodness of this classic apple crisp. Perfectly spiced and topped with a buttery oat crumble, this dessert will become your go-to comfort food!
- Prep Time: 20 minutes
- Cook Time: 50 minutes
- Total Time: 1 hour 10 minutes
- Yield: 8 servings 1x
- Category: Dessert
- Method: Baking
- Cuisine: American
- Diet: Vegetarian
Ingredients
- 6 cups sliced apples
- 1 tablespoon lemon juice
- 1 teaspoon cinnamon
- 1 cup rolled oats
- 1 cup brown sugar
- 1/2 cup all-purpose flour
- 1/2 cup melted butter
Instructions
- Preheat your oven to 350°F (175°C).
- In a large bowl, toss the sliced apples with lemon juice and cinnamon. Spread them evenly in a greased baking dish.
- In another bowl, mix together the oats, brown sugar, flour, and melted butter until crumbly.
- Spread the oat mixture over the apples.
- Bake for 45 to 50 minutes until the apples are tender and the topping is golden brown.
- Allow to cool slightly before serving. Enjoy warm!
Notes
- Serve with a scoop of vanilla ice cream for an extra treat!
- Substitute different types of apples for a unique flavor.
Nutrition
- Serving Size: 1 serving
- Calories: 250
- Sugar: 20g
- Sodium: 150mg
- Fat: 12g
- Saturated Fat: 7g
- Unsaturated Fat: 4g
- Trans Fat: 0g
- Carbohydrates: 35g
- Fiber: 3g
- Protein: 2g
- Cholesterol: 20mg
Keywords: Classic Apple Crisp, Comfort Food, Dessert